Clean SMC: Filtered OB + FVGHow does this indicator work?
Fair Value Gaps (FVG): It identifies price imbalances (gaps between the wick of candle 1 and candle 3). They appear as small, light-colored rectangles.
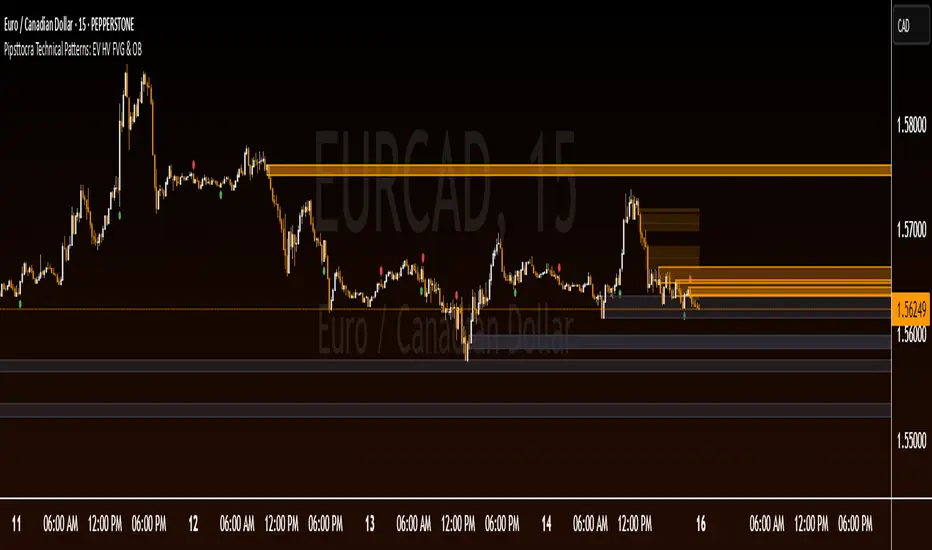
Order Blocks (OB): It marks "Smart Money" candles that precede a strong impulse. These areas are extended to the right because they often act as future support or resistance.
Signals (BUY/SELL): The indicator displays a signal when it detects a confluence (for example, a bullish OB appearing right after an FVG).
Some friendly trading tips:
Timeframe: This indicator works best on higher timeframes (15m, 1h, 4h) to avoid market "noise."
Confirmation: Don't take a "BUY" signal on its own. Check if the overall trend (on a higher timeframe) is also bullish.
Risk management: Always place your Stop Loss just below the identified Order Block.
Indicador Pine Script®